


-
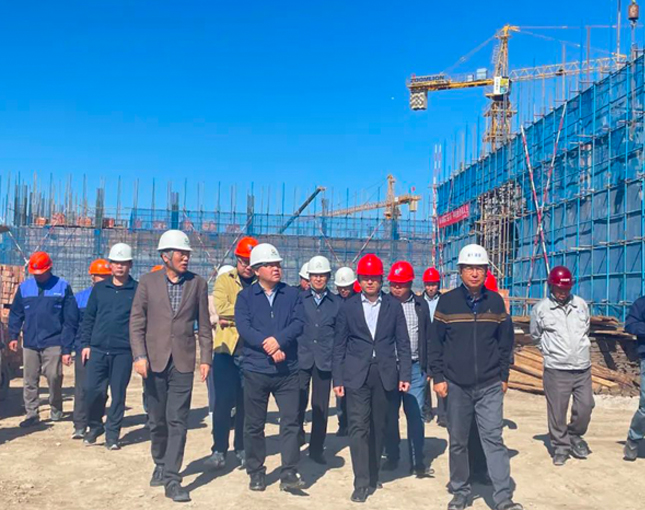
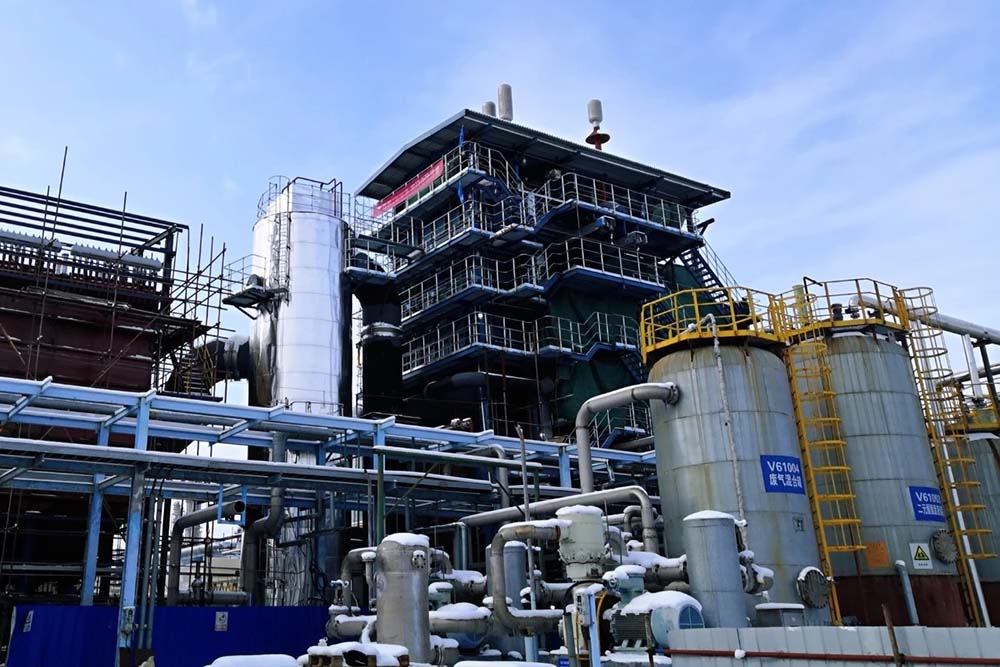
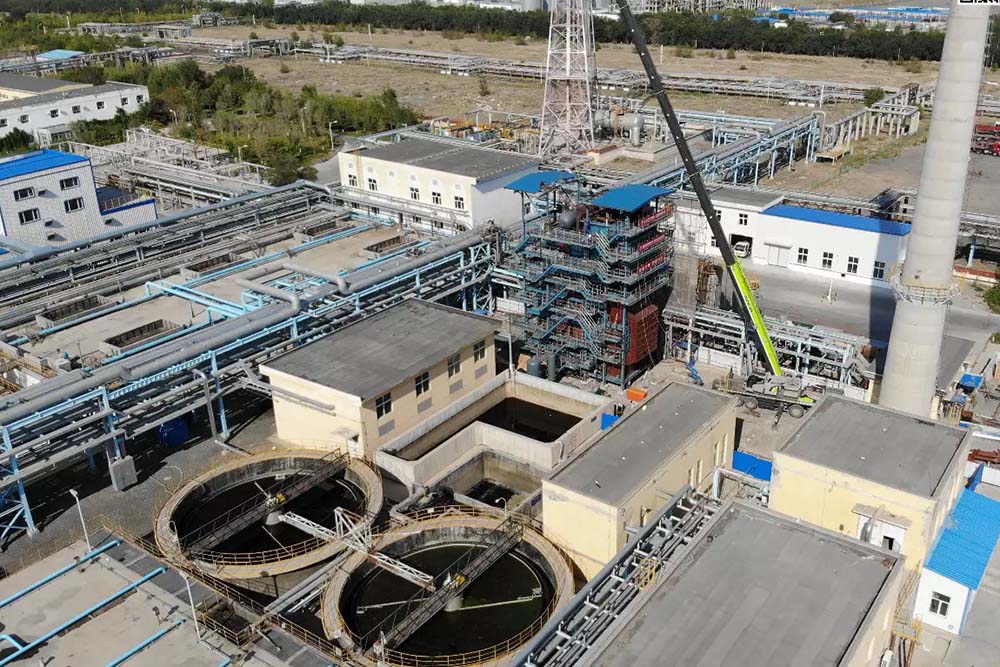
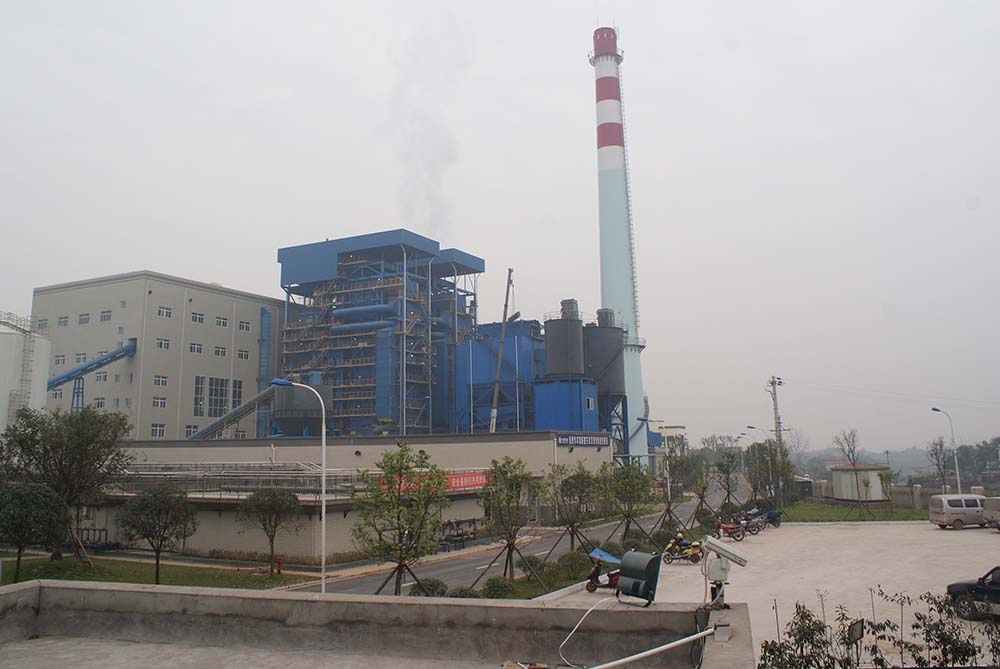
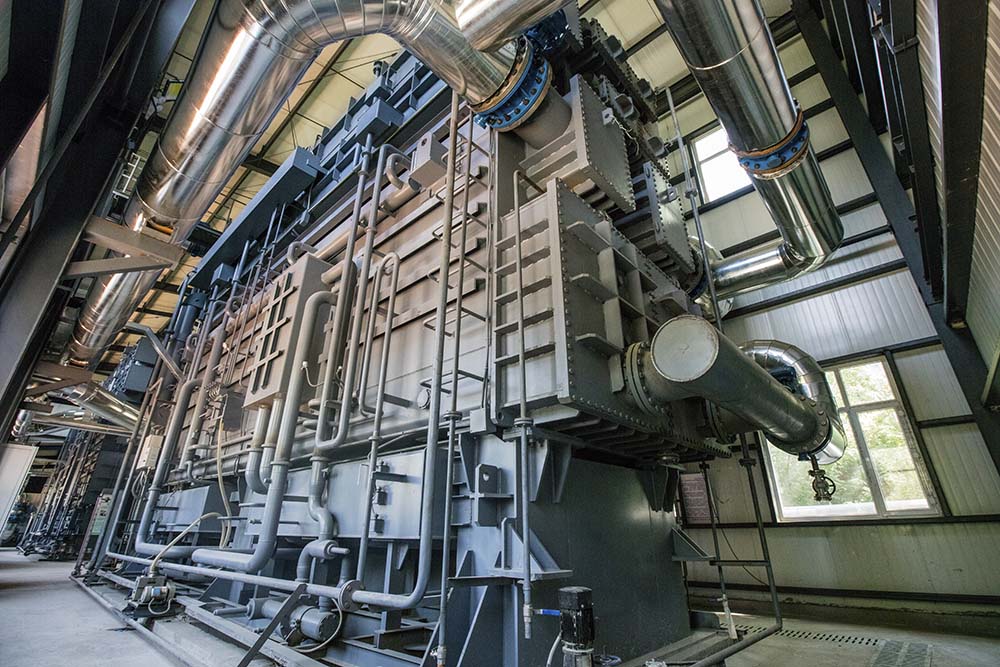
112024.04哈尔滨市副市长谭乐伟深入哈投3×168MW循环流化床热水锅炉近日,哈尔滨市副市长谭乐伟到华亿体育电竞(中国)有限公司哈尔滨哈投投资股份有限公司热电厂热源改造项目—3×168MW循环流化床热水锅炉项目主厂房及附属建(构)筑物土建施工项目现场检查指导工作。
-
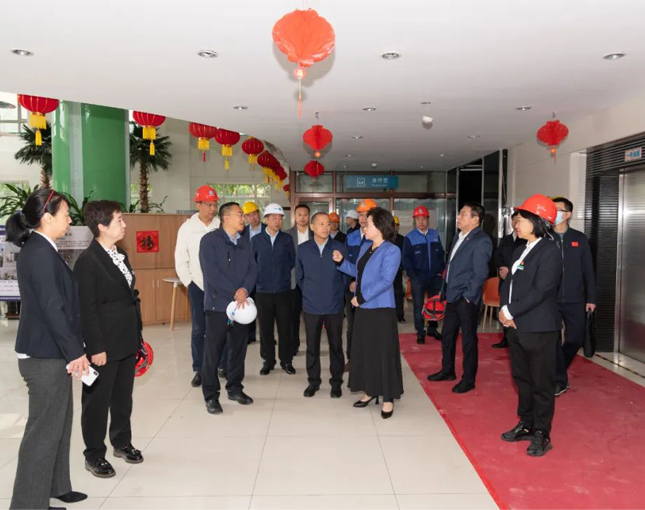
092024.04省住建厅副厅长刘晓东一行到华亿体育电竞(中国)有限公司哈尔滨市2023年老旧小区改造近日,省住建厅副厅长刘晓东一行到龙安二公司哈尔滨市2023年老旧小区改造项目(四标段)调研指导工作。
-
032024.04爱心点燃希望 龙江安装华亿体育电竞(中国)有限公司党委、工会开展为患病职工张云海募捐3月26日—27日,龙江安装华亿体育电竞(中国)有限公司工会组织开展了“捐款献爱心 点滴聚真情”爱心募捐活动。
-
282024.02龙江安装华亿体育电竞(中国)有限公司召开专题会议贯彻落实建投华亿体育电竞(中国)有限公司华亿体育电竞(中国)有限公司改革发展调研工作2月28日,龙江安装华亿体育电竞(中国)有限公司召开专题会议,贯彻落实建投华亿体育电竞(中国)有限公司深入龙江安装华亿体育电竞(中国)有限公司调研工作会议精神,研究具体措施,安排部署全年工作。
-
292024.01龙江安装华亿体育电竞(中国)有限公司召开成本管理工作总结座谈交流会1月24日,龙江安装华亿体育电竞(中国)有限公司召开成本管理工作总结座谈交流会,华亿体育电竞(中国)有限公司党委委员、副总经理李学儒出席会议并讲话。
-
192024.01双双获奖!华亿体育电竞(中国)有限公司两个项目荣获三项结构优质奖近日,龙安二公司承建的龙井边境经济合作区开山屯加工产业园区基础设施建设项目,获得2023年度延边州建筑工程质量“工程结构优良奖”;哈尔滨智能制造产业园项目(一标段)检测中心和宿舍楼,获得2023年度哈尔滨市建筑工程“结构丁香杯”和“结构优质”奖。
-
042024.01吉林化纤供气管网项目打响冬季施工“攻坚战”寒风凛冽,吉林化纤供气管网项目现场仍一片火热,龙江安装华亿体育电竞(中国)有限公司的旗帜在迎风飘扬,全体工作人员坚守一线,大干快上,扎实推进项目建设,向新的一年献礼。
-
182023.12助力冰雪大世界顺利开园 华亿体育电竞(中国)有限公司高质量完成梦幻冰雪项目管道检测任12月17日上午10时,龙安试验检测公司(龙安第十一分公司)接到铭星冰雪(北京)科技有限公司的紧急委托,对哈尔滨冰雪大世界梦幻冰雪项目冰舞台制冷管线进行射线及磁粉检测。
-
172023.12傲雪凌霜 奋战一线 龙煤双鸭山风电项目冬期施工忙龙煤双鸭山集贤200MW风力发电项目一派繁忙、壮观的施工场面。夜间室外气温零下30度,白天零下20度,施工现场却每天都保持着这般火热大干的景象,龙江安装上百名工程建设者发扬苦干实干精神,顶严寒冒风雪,挑灯夜战抢工期,争分夺秒赶进度。
-
022023.12黑龙江日报报道华亿体育电竞(中国)有限公司大庆立志粮库项目建设进展12月1日,黑龙江日报报道华亿体育电竞(中国)有限公司龙安金属结构公司承建的大庆市立志粮库项目建设进展。
-
172023.10龙视新闻联播报道华亿体育电竞(中国)有限公司哈市2023年旧改项目荟芳里小区最新进度10月14日,黑龙江卫视《新闻联播》、极光新闻报道了由龙安二公司承建的哈尔滨市2023年老旧小区改造项目EPC工程总承包(四标段)的建设情况。
-
082023.09省台《新闻夜航》报道:民生问题无小事 带着“温度”做旧改9月7日,黑龙江广播电视台《新闻夜航》栏目对龙江安装华亿体育电竞(中国)有限公司承建的哈尔滨市道外区老旧小区改造项目(四标段)进行了采访报道。


视频中心
View

龙江安装学院
College

高新技术华亿体育电竞(中国)有限公司
High—Tech


上级华亿体育电竞(中国)有限公司门户链接
下属华亿体育电竞(中国)有限公司门户链接
行业链接
媒体链接
国家部委
 top
top